
PC Cooling & RGB: The Complete Guide
Everything you need to keep a build cool under real, sustained load — and light it up the right way. How air and liquid cooling actually work, how to set up case airflow that doesn't fight itself, a full step-by-step installation walkthrough, and a complete map of the RGB ecosystem: 5V ARGB vs. 12V RGB, headers, hubs, and getting every brand's software to sync.
Before you start. Power off and unplug the PC before installing or moving any cooler, fan, or RGB device. Never overtighten a cooler's mounting screws — a cracked motherboard or a crushed CPU die is not a warranty claim. Handle AIO tubing gently and never kink it. Above all: never plug a 12V RGB device into a 5V ARGB header (or the reverse) — the voltage mismatch can destroy the LEDs instantly. This guide is educational reference material, not a substitute for your specific hardware's manual — always check the documentation for your cooler, case, and motherboard before installing.
Every CPU and GPU sold today boosts itself as high as its temperature allows, then pulls clocks back the instant it gets too hot — a process called thermal throttling. That means cooling isn't a finishing touch you bolt on at the end of a build: it directly decides how much performance you actually get to keep once a game or render has been running for more than thirty seconds, how loud the machine is at that performance level, and how long the silicon and surrounding components last under years of sustained heat.
A cooler that's merely "good enough at idle" tells you almost nothing. What matters is sustained performance under a real load — a long render, a multi-hour gaming session, a benchmark loop — because that's when a weak cooler runs out of headroom and clocks start dropping.
- Sustained boost clocks instead of a thermal-throttled CPU/GPU under long loads
- Lower noise at the same performance — bigger heatsinks and radiators move more heat per fan RPM
- Longer component lifespan — sustained high temperatures accelerate wear on VRMs, capacitors and the silicon itself
- Real headroom for overclocking or a quiet undervolt profile
- A cleaner interior — correct airflow direction pulls filtered air in and pushes hot air and dust out through vents, not through random gaps
- RGB lighting that actually reads as designed — synced colors and clean cabling — instead of a mismatched patchwork
Work through it in order: understand air vs. liquid cooling, plan your case's airflow, follow the step-by-step installation, then wire and sync your RGB lighting. The Troubleshooting and Buying Guide tabs are there whenever you need them.
| Type | Upfront cost | Noise potential | Maintenance | Best for |
|---|---|---|---|---|
| Air cooler | $ | Low–moderate | None — occasional dust cleaning | Most builds; zero leak risk, dead simple |
| AIO liquid cooler | $$ | Low (pump) + fan noise | None for the sealed loop's lifespan | High-TDP CPUs, tidy top-down looks, big radiators in a tight footprint |
| Custom loop | $$$$ | Very low, if tuned | Coolant refresh, tubing checks | Enthusiasts cooling CPU + GPU together with maximum headroom |
Full breakdown of each type, an actual cooler-by-TDP comparison table, and how to pick between them is in the next tab.
All CPU cooling does one job: move heat away from a tiny piece of silicon fast enough that it never has to throttle itself. Air and liquid coolers just get the heat to open air by different routes.
Custom (open) loops use the same principle as an AIO but with separate components — a reservoir, a pump, tubing, and often blocks for both CPU and GPU — chosen and assembled by hand for maximum cooling capacity and a fully custom look. They're rewarding but involved: leak-testing, coolant maintenance, and hard-tubing bending are their own skill set. We're keeping this guide focused on air and AIO cooling, which cover the vast majority of builds — look for a dedicated custom-loop build log in the forum (see the Community section at the end of this guide).
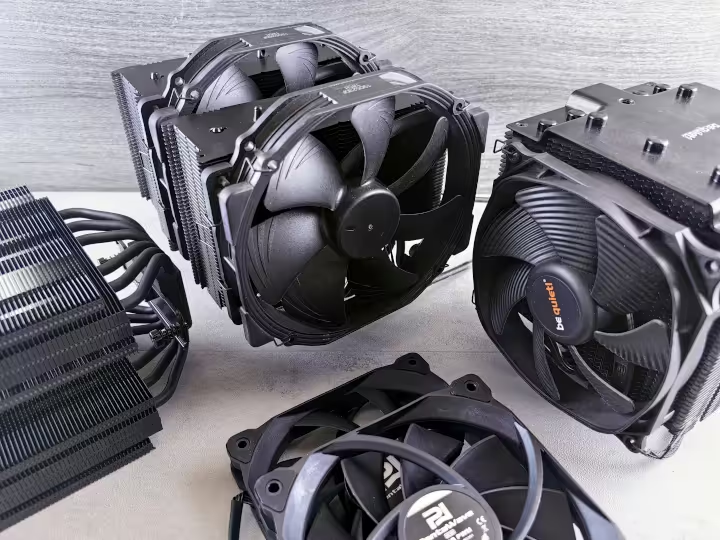
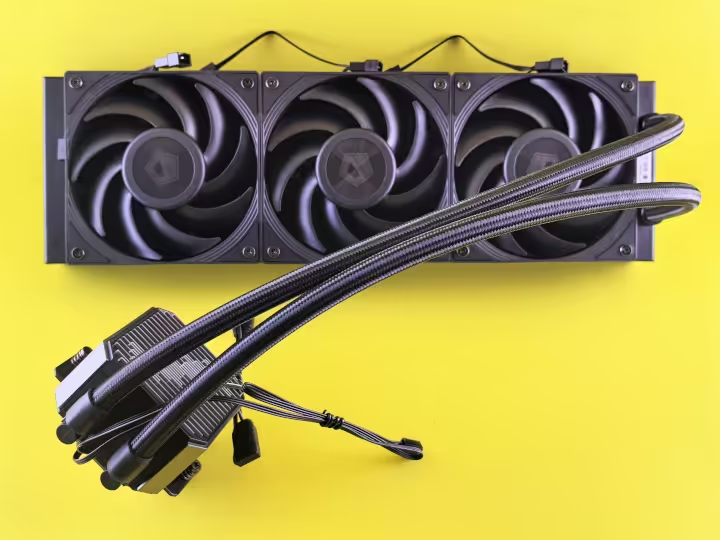
| Type | Typical CPU TDP handled | Noise | Cost | Notes |
|---|---|---|---|---|
| Stock cooler | Up to ~65W | Moderate–loud at load | Included | No RGB, no overclocking headroom |
| Low-profile air | Up to ~95W | Moderate | $ | Check exact case clearance in mm before buying |
| Single-tower air | Up to ~150W | Low–moderate | $$ | Best value upgrade for most builds |
| Dual-tower air | Up to ~230W | Low | $$$ | Confirm case width and RAM height clearance |
| 240mm AIO | Up to ~220W | Low | $$ | Needs a 240mm radiator mount (front or top) |
| 280mm/360mm AIO | Up to ~320W+ | Low, if fans tuned | $$$ | Needs real radiator clearance — measure your case |
| Custom loop | Scales with radiator size | Very low, if tuned | $$$$ | Advanced; see the forum for a dedicated build log |
Not all fans are interchangeable, even at the same size and RPM. The blade design decides what a fan is actually good at.
Most RGB fan kits are marketed as "high static pressure" regardless of their actual blade design — check the spec sheet's static pressure (mmH₂O) rating rather than trusting the box art alone, especially for radiator fans.
Positive pressure (more/stronger intake fans than exhaust) keeps most incoming air passing through your dust filters, since air escapes through exhaust vents instead of being pulled in through every unfiltered gap. Negative pressure (more exhaust than intake) pulls unfiltered air in through cracks, gaps and drive bays — cooling can be fine, but the interior collects dust faster.
- Front: intake — pulls fresh, filtered ambient air across the GPU and motherboard
- Bottom: intake, if your PSU shroud allows it — helps feed the GPU directly
- Rear: exhaust — the CPU's hot air has a short, direct exit path
- Top: exhaust — vents rising hot air before it recirculates through the intakes
Heat rises — a top exhaust plus a rear exhaust, fed by front (and bottom, if present) intake, is the layout that works for the overwhelming majority of mid-tower cases.
Front-mounted radiator (as intake): pulls cooler ambient room air straight through the radiator, but that air is now warmed before it reaches the GPU and rest of the case.
Top-mounted radiator (as exhaust): keeps the coolest incoming air reserved for the GPU via front/bottom intakes, and vents CPU heat straight out the top. This is the layout most reviewers default to when a case supports both.
Push (fans on the intake side of the radiator) is the simplest and quietest setup for most builds. Pull (fans on the far side, drawing air through) is rarely used alone. Push-pull (fans on both sides) adds a small thermal gain for a real noise and cost cost — worth it mainly on a very high-TDP CPU pushing a radiator to its limit.
Mount an AIO with the tubes pointed downward (toward the pump) wherever your case allows — this keeps the pump's chamber primed with coolant and reduces the odds of an air pocket causing noise.
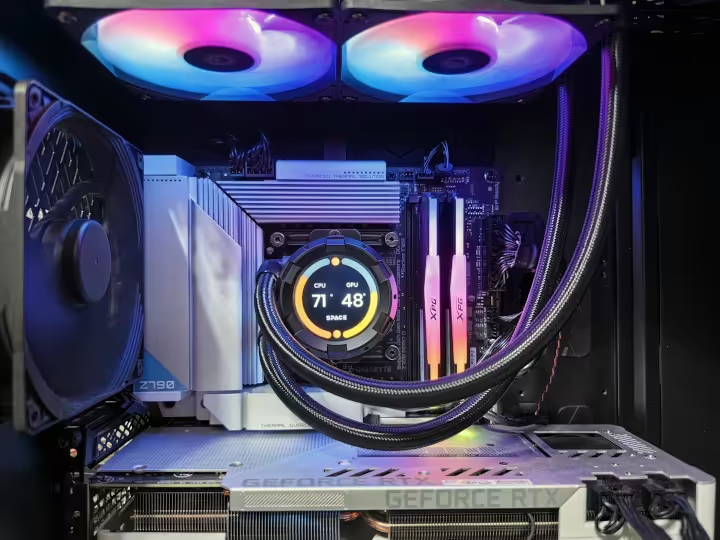
A 4-pin PWM fan header controls fan speed digitally and precisely, independent of voltage — this is what almost every modern case and CPU fan header uses. A 3-pin DC fan is controlled only by varying its voltage, which works but with a smaller usable speed range. Plugging a 3-pin fan into a 4-pin header (or the reverse) still works electrically — the fan just runs in whichever control mode its own pin count supports.
Set fan curves in the BIOS/UEFI (usually under a "Q-Fan," "SmartFan" or "Fan Control" page): pick a temperature source (CPU or motherboard) and define how fast fans ramp as it climbs. A gentle curve that only spins up under real load is both quieter and perfectly safe.
Running more fans than your motherboard has headers for? A powered fan hub (using a SATA power connector, controlled by one motherboard header) is the standard way to scale up — check its max fan count and total current rating before daisy-chaining a large kit.
This walkthrough covers both an aftermarket air cooler and an AIO — steps 3, 4 and 5 note where the two paths differ. Read your specific cooler's manual for exact mounting hardware, since sockets and bracket kits vary by brand.
- Phillips-head screwdriver (magnetic tip helps a lot)
- The correct mounting bracket for your CPU socket (check the box — brackets differ by socket generation)
- Thermal paste, unless your cooler's cold plate already has a pre-applied pad
- Isopropyl alcohol and a lint-free cloth, if removing an old cooler and old paste
- Zip ties or velcro straps for cable management
- Your case and motherboard manuals, at least on a second screen
Decide intake vs. exhaust for every fan mount and where the radiator (if using an AIO) will sit, using the Case Airflow tab above. Doing this before mounting anything saves you from re-routing cables twice.
Mount intake and exhaust fans with the airflow arrow (printed on the fan's rim) pointing the correct direction, then run each fan's cable back toward the motherboard header or hub you planned for it.
With the motherboard on an anti-static surface, install the backplate behind it (or use the pre-installed socket mount, on boards that ship one) matching your CPU's socket — the same bracket kit is shared between most air coolers and AIO pump blocks from the same brand.
A single pea-sized dot in the center of the CPU's heat spreader is enough for almost every modern cooler — the cooler's clamping pressure spreads it evenly on contact. Skip this step entirely if your cooler's cold plate has a factory pre-applied pad.
Too much paste doesn't cool better — it just squeezes out the sides. A grain-of-rice-to-pea amount is correct for the vast majority of coolers; check your cooler's manual if it recommends a different method (line, X-pattern) for a very large cold plate.
Lower the cooler (or AIO pump block) straight down onto the CPU without sliding it sideways, then tighten the mounting screws a little at a time in a diagonal (star) pattern — alternating corners — until snug. Snug and even beats "as tight as possible."
Mount the radiator in your planned front or top location with fans attached in a push (or push-pull) configuration, tubes routed toward the pump with a downward bend rather than a sharp kink. Tighten radiator screws snugly — overtightening can pierce the thin fins or the radiator itself.
Plug the CPU cooler's fan(s) into the CPU_FAN header, extra CPU-area fans into CPU_OPT, and case fans into labeled SYS_FAN/CHA_FAN headers. An AIO's pump cable should go to a header the motherboard treats as always-on-at-full-speed — check your board's manual, since some boards let you rename/reassign this behavior.
Never let the pump idle at a low, temperature-controlled speed the way a case fan does — it should run at or near 100% at all times, per the AIO manufacturer's guidance.
Connect fan/cooler/strip RGB cables to the matching header type on the motherboard or hub — see the RGB Hardware & Wiring tab next for how to tell 5V ARGB and 12V RGB headers apart before you plug anything in.
Route cables clear of every fan and radiator, bundle the rest, then boot and run a monitoring tool (like HWiNFO or your motherboard's own software) alongside a short stress test. Confirm every fan and the pump are spinning, and that load temperatures stay well below your CPU's throttle point.
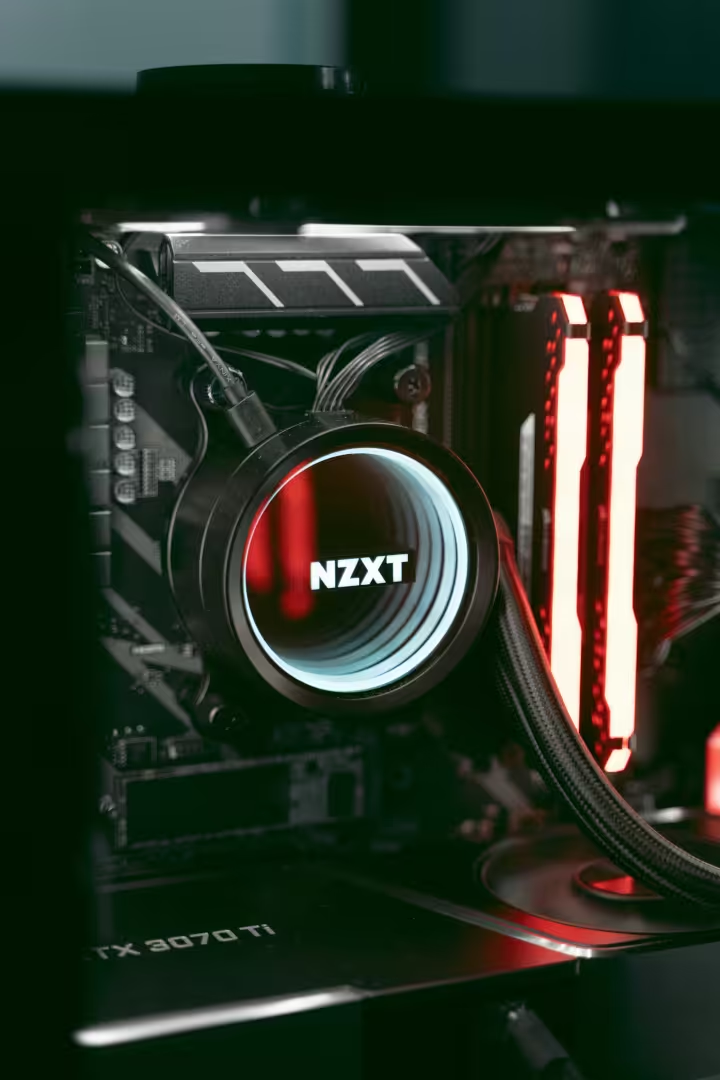
Two completely different lighting standards both get called "RGB," and mixing them up can damage hardware — this is the single most important thing to get right before you plug in a single cable.
| 5V ARGB (Digital) | 12V RGB (Analog) | |
|---|---|---|
| Connector | 3-pin, usually labeled ARGB/ADD_HEADER | 4-pin, usually labeled RGB/RGBW |
| Control | Each individual LED addressable — rainbow/chase effects | Whole strip/fan lights as one uniform color |
| Keying | One missing pin position (of 4 physical pin slots) | One missing pin position (of 5 physical pin slots) |
| Typical devices | Modern ARGB fans, strips, RAM, most current motherboards' primary headers | Older RGB fans/strips, some case-included lighting |
Most motherboards ship with only one or two ARGB headers and one or two 12V RGB headers on board — nowhere near enough for a full set of case fans plus a strip plus AIO lighting. A fan/RGB hub (powered by a spare SATA connector, controlled from a single motherboard header) or a standalone RGB controller (with its own app and sometimes a physical remote) is how you scale past that limit.
Daisy-chaining several ARGB fans off one header is normal and expected — but every header and hub has a maximum device count and total current rating. Check the manufacturer's spec before chaining an entire fan kit off a single port; split across two headers/hubs if you're near the limit.
Magnetic or adhesive ARGB strips mounted along the glass panel edge or PSU shroud add ambient case lighting independent of your fans. Route the strip's cable back to your internal ARGB hub alongside your fan cables, rather than stretching a fan daisy-chain cable across the case to reach it.
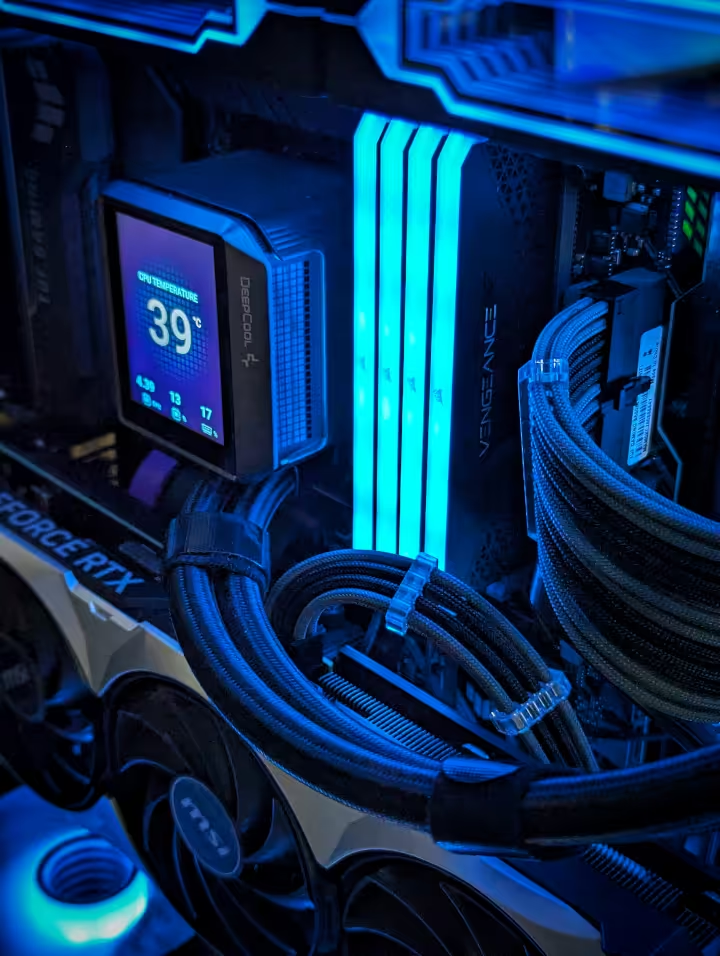
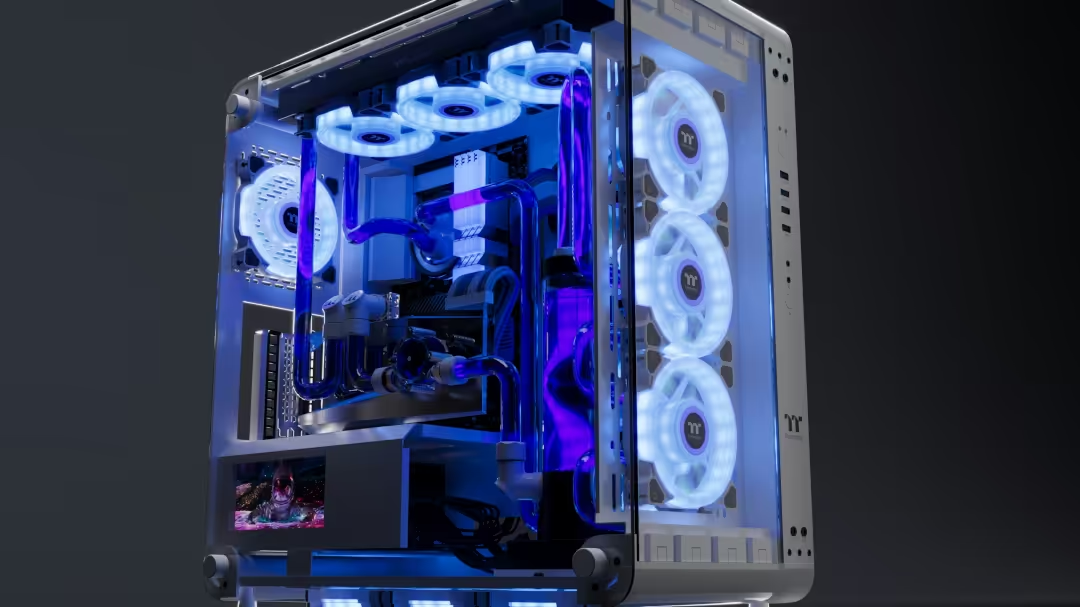
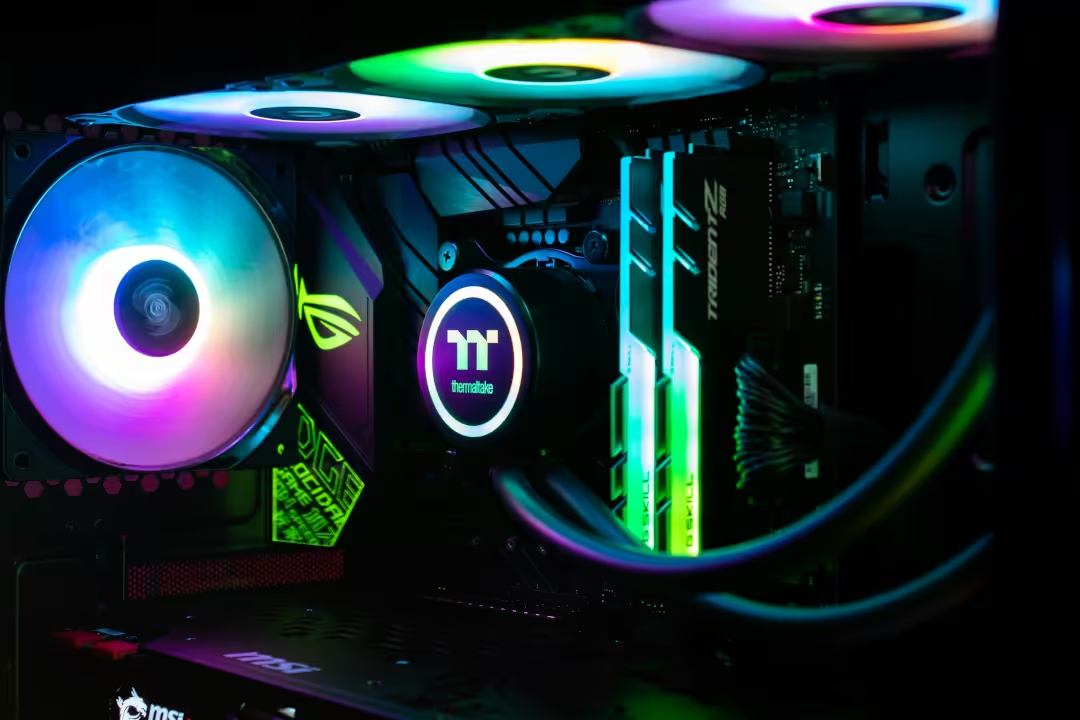

Every major component brand ships its own RGB control app, and each one only reliably controls its own brand's devices.
| Software | Brand | Typically controls |
|---|---|---|
| iCUE | Corsair | Fans, AIOs, RAM, keyboards, mice, headsets, case lighting |
| Aura Sync | ASUS | Motherboard headers, ASUS-brand fans/coolers/peripherals |
| Mystic Light | MSI | Motherboard headers, MSI-brand fans, GPUs, peripherals |
| RGB Fusion | Gigabyte | Motherboard headers, Gigabyte-brand components |
| Polychrome Sync | ASRock | Motherboard headers, ASRock-brand components |
| CAM | NZXT | NZXT fans, AIOs, lighting and case controllers |
Mixing fans from one brand, RAM from another and a case strip from a third means "one app per brand," each fighting to own the same lighting moment. OpenRGB is a free, open-source universal controller that supports a very wide range of devices across many brands from a single interface, so your whole build can share one color palette and one effect.
Some devices need a firmware update (through their own OEM app, run once) before third-party tools like OpenRGB can see or control them correctly — check the device's compatibility notes if it isn't detected.
RGB RAM syncs its lighting through the same motherboard software controlling your fans — its memory performance (speed, timings, XMP/EXPO profile) is completely unaffected by the lighting layer. RGB keyboards, mice and headsets usually sync through their own brand's app (which often doubles as the universal hub if it's the same brand as your other gear, like Corsair iCUE).



High idle temps. Reseat the cooler and reapply thermal paste, confirm every fan's airflow arrow points the intended direction, and check the cooler is fully and evenly tightened.
High temps / throttling under load. Recheck case airflow direction (see the Airflow tab), clean dust from filters and radiator fins, confirm every case fan is actually spinning and not stuck on a too-low BIOS fan curve.
AIO gurgling noise. Usually trapped air working its way to the reservoir — let the system idle upright for a few hours; some models benefit from briefly tilting the case per the manufacturer's guidance.
A fan isn't spinning / BIOS reports a fan error. Reseat the header connection fully, confirm it's plugged into the header type it expects, and swap it to a known-working header to rule out a failed fan.
No lighting at all. Confirm the header type matches the device (5V ARGB vs. 12V RGB), that the cable is fully seated in the correct orientation, and — for a hub — that its separate SATA power cable is connected.
Wrong or flickering colors. Almost always two control apps fighting over the same device — close one (see the RGB Software tab) — or a firmware update the device is waiting on.
Effect plays but devices are out of order. Reassign each device's position in the software's addressing/layout screen — a fan plugged in "out of chain order" is a labeling issue, not a wiring fault.
Daisy chain stops working partway through. You've likely exceeded that header/hub's maximum device count or current rating — split the chain across two headers or add a second powered hub.
A practical shopping list organized the way you'd actually buy it — cooling hardware first, then lighting, then the small tools that make installation painless.
Some links on this page are affiliate links — if you buy through them we may earn a small commission at no extra cost to you. Replace the placeholder links above with your own Pretty Links before publishing.
This guide covers the fundamentals. The deeper, hands-on builds below are planned as dedicated forum threads — check back, or follow the forum's Technology section for when they go live.